
This topic will walk you through how set up an Okta SSO/SAML integration. This includes how to set up Okta in Ironclad, add new and existing users to Ironclad, and test your setup.
Disclaimer: If you change your domain, your access to Ironclad is prohibited. Contact submit a request with our Support Team for assistance before migrating a domain.
Set Up Okta in Ironclad
- Log in to Okta as an admin. Verify you are in the Admin Dashboard.
- In the left navigation bar, click the Applications tab, and then click Applications.
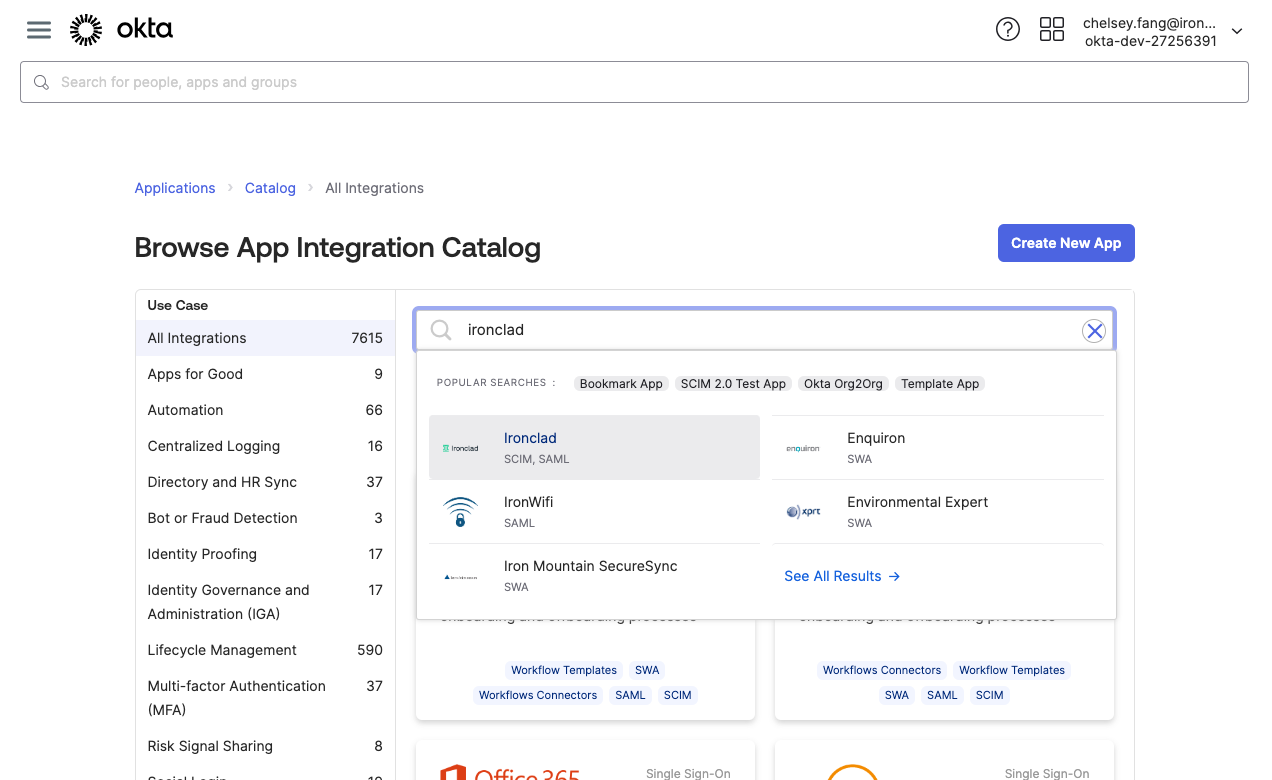
- Click Browse App Catalog.
- Search for and select Ironclad.
- Click Add Integration.
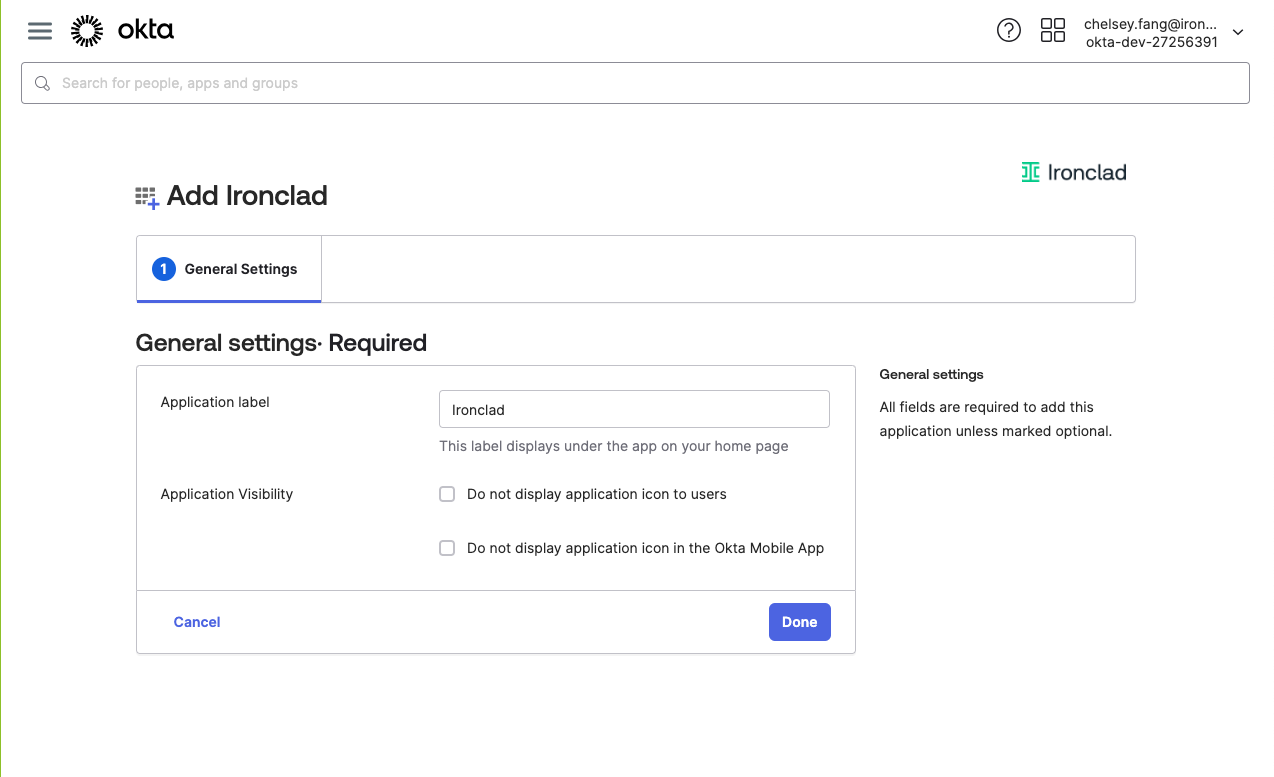
- Verify “Ironclad” populates the Application label field.
- Select your Application Visibility. Click Done.
- Click the Sign On tab, and then click View SAML setup instructions.
- Follow Okta’s instructions to complete the configuration.
- To find the Callback URL and the Service Provider Identifier (na1.ironcladapp.com), navigate to Ironclad, and then click Company Settings > Integrations > SAML beneath Other Integrations.
- Under IdP Configuration, click Show Additional IdP Settings. The URLs display.
- Once the configuration is complete, click the Assignments tab in Okta to add existing users or invite new users to the application.

Create New Users and Assign Ironclad Application in Okta
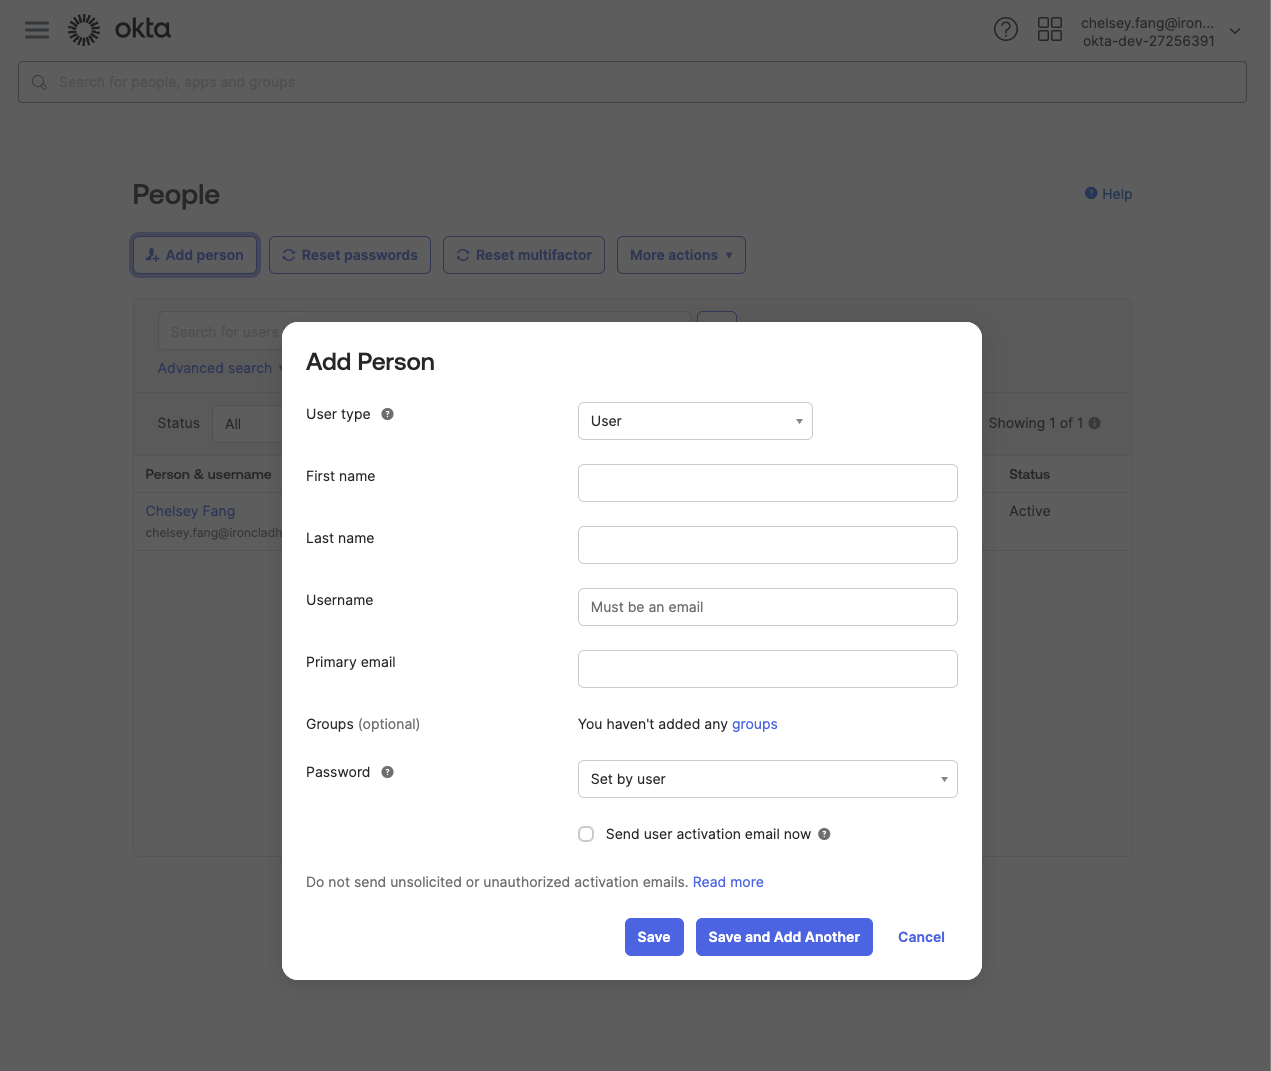
- In the left navigation bar, click the Directory tab > People, and then click Add Person.
- Enter the user’s information and select Send user activation email now. Click Save.
- Select the user you just created, and then click Assign Applications.
- Click Assign next to the Ironclad application you created.
- Click Save and Go Back, and then click Done.
- The user will receive an Okta invitation via email. In this email, click Activate Okta Account and create an account for the user. The user can then log into Ironclad.
- Upon login to Ironclad, if the user sees the Ironclad Dashboard, the Okta configuration was a success. If there are users provisioned within Ironclad prior to setting up SSO, these users will remain Password Login users. Reach out to Ironclad Support for assistance migrating existing Ironclad users from Password Login to SSO Login.
- If the user receives an error message, refer to Troubleshoot SSO/SAML Integrations.

Assign Ironclad Application to Existing Users in Okta
Option 1: Add Ironclad Users From Within Okta
- In the left navigation bar, click the Applications tab, and then click Applications. Select the Ironclad application you created.
- Click the Assignments tab.
- Click the Assign dropdown, then click Assign to People.
- Click the Assign button located next to the users you want to add. Click Save and Go Back, and then click Done.
- The user can then log into Ironclad.
- Upon login to Ironclad, if the user sees the Ironclad Dashboard, the Okta configuration was a success. If there are users provisioned within Ironclad prior to setting up SSO, these users will remain Password Login users. Reach out to Ironclad Support for assistance migrating existing Ironclad users from Password Login to SSO Login.
- If the user receives an error message, refer to Troubleshoot SSO/SAML Integrations.

Option 2: Add Ironclad Users Through a First-Time Sign-In URL
Ironclad provides a First-Time Sign-In URL.
- In Ironclad, navigate to Company Settings > Integrations > SAML beneath Other Integrations.
- The URL is shown beneath Service Provider Identifier and First-Time Sign-In.
- Share the URL with existing Okta users to access Ironclad for the first time.